|
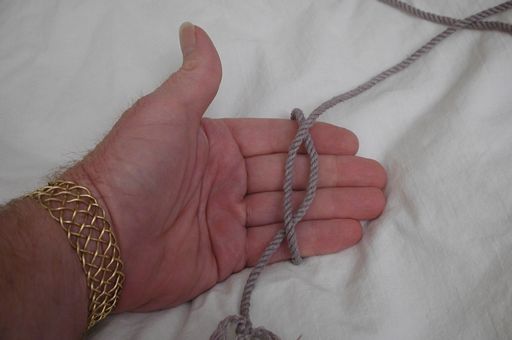
First the line goes around twice, with two crossings. Note that in this and the following illustrations there are no crossings hidden behind my hand, so as to avoid confusion.
|
|
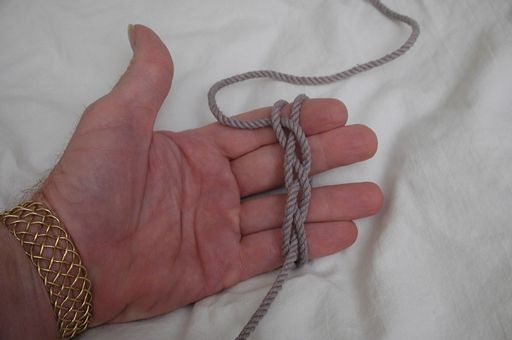
With this knot, the third lead is passed behind the first one, then down between the first two. Compare this with the same stage in the tying of a 5x4 knot. Oops, I fibbed: there is one crossing that is hard to see in these pictures -- as the second turn, above, went behind my hand and came up from the bottom as the third turn, it crossed itself right at the bottom, going to the left and passing beneath the first one.
|
|
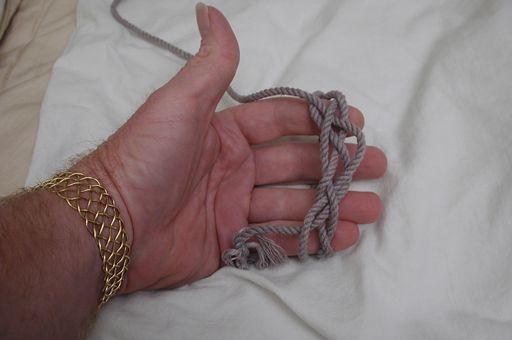
You can see that a little better in this shot -- down at the bottom, the turns appear from beneath my hand clearly, with two on the right being the second and third turns, respectively. The fourth lead will parallel the previous lead, but go over where it is under, and under where it is over. It's important to get the line over the first part at this point.
|
|
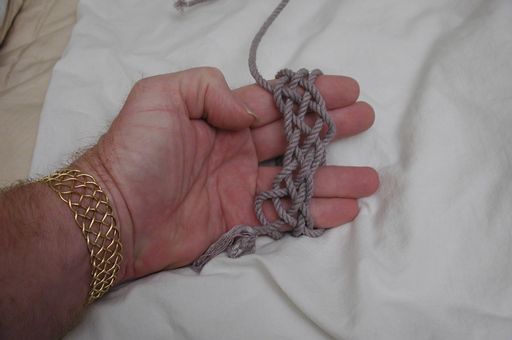
Now it starts to look right again. The running part has to start behind the first part, here, (down at the bottom) to maintain the over-one under-one pattern.
|
|
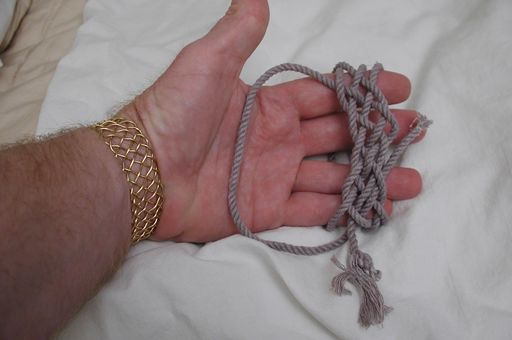
Here is the running part tucked into the origin of the knot, showing the completion of the full knot and the beginning of the "doubling" process.
|
|
With both of these knots displayed here, the tucking of the running part back into the origin can either be a beginning of the doubling process, or an expansion of the knot's complexity. On another page I will illustrate the increase of a 5x4 to a 7x6, and/or the increase of a 5x6 to a 7x8. Elsewhere I intend to show the steps required for the tying of knot with additional bights, which is merely an extension of the steps already shown.
|
|
|
|